
GE Dishwasher Not Draining: Full Diagnostic Guide for GE and GE Profile Models

Terry Okafor
Master refrigeration tech and NATE-certified instructor who moonlights as the magazine's advice columnist. His 'Ask Big Terry' mailbag has been settling shop disputes and diagnosing mystery leaks since 2011.
GE Dishwasher Not Draining: Full Diagnostic Guide for GE and GE Profile Models
Standing water in a GE dishwasher after the cycle ends is one of those service calls with a clear diagnostic order that most techs already know — and one giant exception that trips up about half the new installs I see. I'll start with that exception, because if you're on a new installation call and skipped it, nothing else on this list matters yet.
Step 0: The Garbage Disposal Knockout Plug (New Installs Only)
This is the most common missed cause on any dishwasher drain call involving a new machine, a new disposal, or a recently replaced disposal. Every Insinkerator, Moen, and GE disposal ships with a plastic knockout plug in the dishwasher drain port. That plug must be physically removed before you connect the drain hose. If you connect the hose over the intact plug, the dishwasher will run, the drain pump will run, and the water will go nowhere.
How to check it: disconnect the drain hose from the disposal inlet port and look inside with a flashlight. If there's a plastic plug visible, take a flat-blade screwdriver and a hammer, knock it out, and fish out the plug fragment with needle-nose pliers. Reconnect the hose. Run a drain cycle. Ninety-five percent of the time, that's the whole call.
Why this matters even on experienced tech calls: If a homeowner replaced their disposal themselves last month and the dishwasher "suddenly" stopped draining, this is still your first check. The homeowner didn't know about the plug. This call looks like a dishwasher problem. It isn't.
The GE Dishwasher Drain System: How It Works
GE and GE Profile dishwashers use a one-speed or two-speed drain pump motor (depending on model and generation) that drives a pump impeller to push water out through the drain hose. The drain path goes:
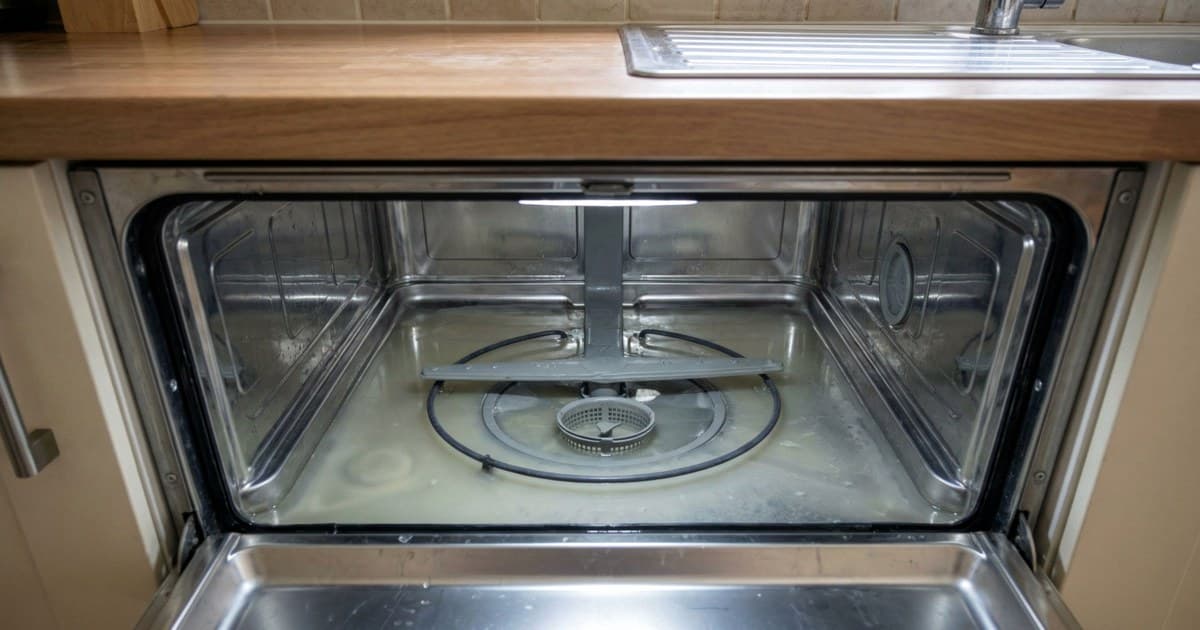
- Water collects in the sump beneath the lower spray arm
- The drain pump activates at the end of each cycle
- Water is pushed through the pump housing, past the check valve, and out the drain hose
- The drain hose routes up to a high loop or air gap, then down to the sink drain or garbage disposal connection
A failure at any point in this path produces standing water. Work through the chain in order.
Step 1: Filter Assembly and Sump Inspection
GE introduced a user-accessible filter system on most models from about 2015 onward. Before you pull any panels, clean the filter.
Remove the lower spray arm (usually a quarter-turn counterclockwise), then remove the coarse filter and ultra-fine filter. Rinse both under running water with a soft brush. Inspect the sump area below the filter for broken glass, labels, bone fragments, or anything else that could block the pump inlet.
Reinstall both filters and run a drain-only cycle (press and hold Start/Cancel for 3 seconds on most GE models to initiate a drain). If water clears — done. If not, continue.
On older GE dishwashers with a grinder-style pump (pre-2015 mid-range models), there's no user-removable filter. Instead, check the chopper blade assembly inside the pump housing for hard debris. A bone fragment lodged against the chopper blade stops the pump from moving water. Access requires removing the pump assembly from below.
Step 2: Drain Hose Routing and Air Gap
A kinked or improperly routed drain hose creates a restriction the pump can't overcome. On GE dishwashers, the drain hose typically exits from the right side of the unit and routes to the sink cabinet.
Check for:
- High loop: The hose should loop up to the underside of the countertop before descending to the drain connection. Without this loop, backflow from the sink can siphon water back into the dishwasher.
- Air gap: If an air gap fitting is installed on the countertop, check both the inlet cap and the outlet. Air gaps clog with food debris. Pop the cap, clean the ports, confirm flow.
- Kinks: The hose behind and beneath the unit can kink during installation or when the dishwasher is slid back in. Pull the unit forward and inspect the full hose run.
Step 3: Check Valve
The check valve prevents drained water from siphoning back into the dishwasher after the pump shuts off. On GE models, the check valve is typically a small flapper or ball inside the pump housing or a separate inline check valve on the drain hose near the pump outlet.
A stuck-open check valve lets water back in after draining — the customer sees standing water even though the pump actually worked. A stuck-closed check valve prevents draining.
Testing the check valve: Remove the check valve and confirm the flapper or ball moves freely. Inspect the seat for debris or mineral buildup. Clean or replace if there's any resistance or visible buildup.
GE check valve part: Check valve part numbers vary by model — confirm the correct one by checking the tech sheet behind the kick plate or by looking up your exact model number on geapplianceparts.com. The part is inexpensive ($8-15 on most models) and takes about 20 minutes to replace.
Step 4: Drain Pump Motor Testing
If the filter is clean, the hose is clear, the check valve moves freely, and the disposal knockout was already removed — the pump itself is next.
Listening test: Start a drain cycle and listen from the front. You should hear the pump motor hum and water movement. Silence means no power to the pump or a failed motor. Humming without water movement means the motor is running but the impeller is jammed or the pump housing is blocked.
Electrical test: Unplug the unit. Remove the lower kick plate. On most GE models, the pump motor is accessible from the front-bottom. Disconnect the motor wires and test resistance across the motor terminals:
- Healthy motor: compare your reading against the resistance value on the model-specific GE tech sheet (behind the kick plate) or the spec listed for your part on geapplianceparts.com — the healthy range varies by pump, so there is no single universal figure
- Open reading: motor winding failure — replace the pump motor or pump assembly
- Check terminal-to-ground: should be infinite (open). Any reading to ground indicates an internal short.
Impeller test: With the pump accessible, try to spin the impeller manually. It should rotate with slight resistance from the magnetic detent, but smoothly. Locked impeller = failed bearing or debris in the pump housing. Disassemble and clear.
GE drain pump part numbers change between model revisions. The tech sheet, located behind the kick plate on the inside of the door frame, shows the model-specific wiring diagram and sometimes lists part numbers. On GE Profile models, the wiring diagram is color-coded and includes drain pump terminal identification. Use it. GE diagrams are among the most readable in the industry.
Step 5: Control Board Diagnostics
If the pump motor tests healthy (correct resistance, free impeller) but no power reaches the pump during a drain cycle, the control board is the likely culprit.
The control board contains the relay or triacs that switch power to the pump. On GE models, this is typically a power relay — look for burned contacts or heat discoloration near the relay on the board. If you see it, the board is condemned.
If you don't see visible damage, use the wiring diagram to meter the power output from the board to the pump during a drain command. On most GE models:
- 120V AC should appear at the pump terminals during active drain
- No voltage with a healthy motor = board not sending the drain command
- Correct voltage with a healthy motor = check the pump wiring harness and connectors between board and pump
GE profile boards are expensive. Confirm the motor is truly good before condemning the board.
GE Model-Specific Notes
GDT series (GE standard): Filter-based system since ~2015. The drain pump on most builds is WD19X25461 (newer) or WD26X10048 (older); confirm by model number, because WD26X10013 is the separate wash/circulation pump, not the drain pump. Check valve is accessible after removing filter assembly.
PDT series (GE Profile): Two-speed circulation motor on some builds, but the drain pump is a separate component. The current Profile drain pump assembly is WD19X25461; older units use WD26X10048. Verify against your model number before ordering.
GDF series (older GE standard): Grinder pump — no user-accessible filter. The chopper plate and grinder blade are the most common source of jams. These units are typically 10+ years old at this point. Parts are still available but the question of repair vs. replace is worth raising.
For comparison notes on similar drain diagnostics on other brands, see our Whirlpool dishwasher not draining guide.
Can I run my GE dishwasher without a garbage disposal connection?▾
Yes. If there's no disposal, the drain hose connects directly to the sink drain tailpiece using a dishwasher drain fitting. The high loop (or air gap) is required either way. If you're replacing a disposal and temporarily have no drain connection, don't run the dishwasher — the drain water will go onto the cabinet floor.
How do I access the drain pump on a GE dishwasher?▾
On most GE models, remove the lower kick plate (two screws), tip the unit forward (lay it on its back if necessary), and the pump assembly is visible on the bottom of the tub. Disconnect the water supply line and drain hose first. Disconnect the wiring harness connector. Most GE pumps are secured with a locking collar — quarter-turn counterclockwise releases it.
My GE dishwasher drains during the wash cycle but not at the end. Why?▾
Mid-cycle drainage is normal in GE dishwashers — they drain between wash and rinse phases. If the unit drains during the cycle but leaves water at the end, suspect the drain command from the control board, a timer fault (on older mechanical models), or a check valve stuck closed on the final drain. A failing check valve that works intermittently produces exactly this symptom.
Need a repair professional?
Get free quotes from verified technicians in your area.
Find a Pro Near You